English

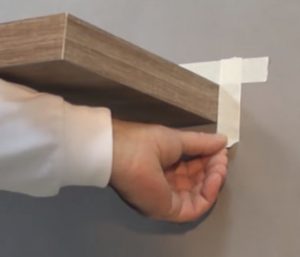
Floors and not smooth walls
Working methods
CimentArt
Essential tools for applications
- Protective tape
- Scissors o cutter
- Sanding Machine
- Sanding grit 40
- Sanding grit 150 – 200
- Spatula
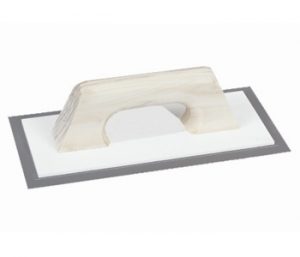
- Steel trowel
- Plastic trowel CimentArt
- Microfiber roller
- Painting pan
- Electric Mixer
- Vacuum cleaner
- Measuring glass or digital scale
Necessary CimentArt products
- CimentArt Primer
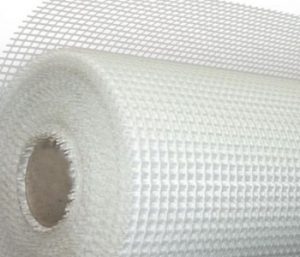
- CimentArt Fiberglass mesh
- Mixture Resin CimentArt
- Microcement Base CimentArt
- Fine Microcement CimentArt
- CimentArt Sealer
- Bi-component Polyurethane varnish CimentArt (Component A and B)
Before starting
Check the surface where the product would be apply and make sure the surface is:
- Straight.
- Stable, motionless.
- Dry and without humidity.
- Clean.
- Free of dust, grease, etc.
Step-by-step application
Place the protective tape where necessary.
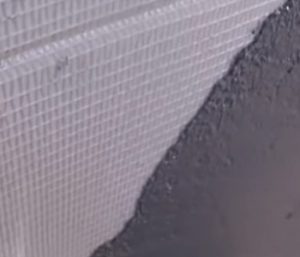
1. Extend the Fiberglass mesh CIMENTART over the surface.
2. Apply a layer of CimentArt Primer with a roller over the fiberglass mesh, exerting some pressure to create adherence on the surface.

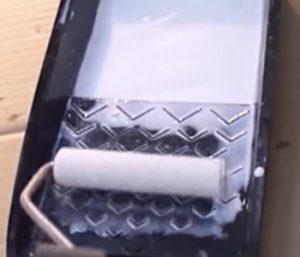

- Clean the roller and the painting pan with water.
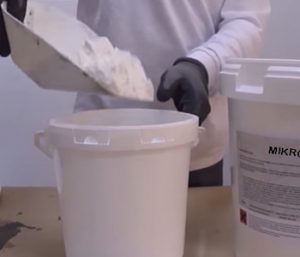
3. Microcement base CimentArt
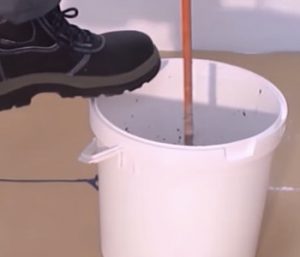
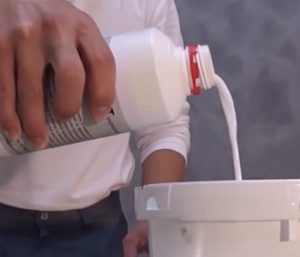
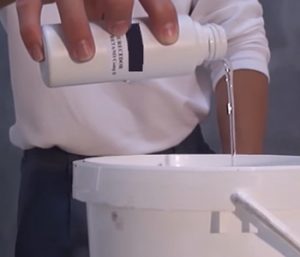
- Shake energetically the Mixture Resin CimentArt.
- Mixture for floors: 2,5 parts of Microcement powder per 1 part of Mixture Resin CimentArt.
- Mixture for walls: 3 parts of Microcement powder per 1 part de Mixture Resin CimentArt.
- The coverage is of 1kg / m2 for a layer of 1 mm, it is necessary to apply 2 layers. 2kg of Microcement Base is necessary for a surface of 1 m2.
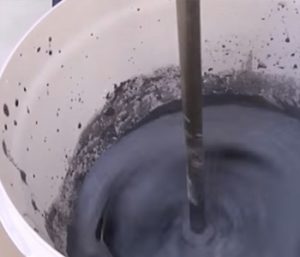
- Mix well with an electric mixer to achieve a smooth mixture.


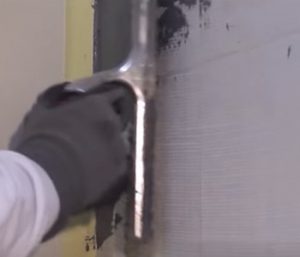
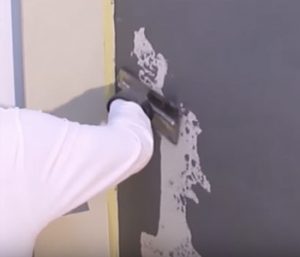
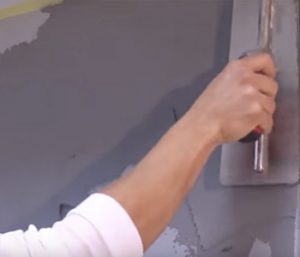
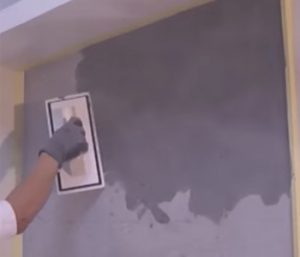
First layer application of Microcement Base:
- With the steel trowel, using an angle of 45° giving a thickness of 1 mm maximum (the thickness is given by the grain of the mixture and by the pressure used during the application).
- Complete the first application making it as homogeneous and without irregularities as possible.
- Remove the protective tape before Microcement hardens.

Allow the Microcement Base to dry completely:
- The drying time depends on the humidity, temperature, ventilation, etc.
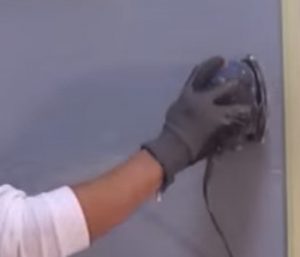
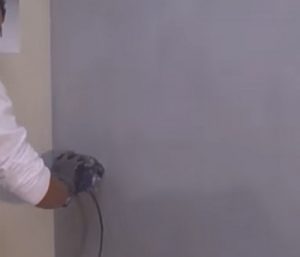
- Remove with a spatula or with the sandpaper grit 40 any remaining irregularities of the first layer of Microcement Base.
- Remove the sanding dust with a vacuum cleaner. Use damp cloth to clean the surface.

Place the protective tape where necessary.

Apply the second Microcement Base layer:
- With the steel trowel, using an angle of 45° giving a thickness of 1 mm maximum (the thickness is given by the grain of the mixture and by the pressure used during the application).
- Complete the second application making it as homogeneous and without irregularities as possible.
- Tip: the first layer as well as the second can be spray with water and slightly pass the steel trowel to correct the irregularities.
Remove the protective tape before the Microcement hardens and allow the second layer Microcement Base.
- The drying time depends on the humidity, temperature, ventilation, etc.
- Sand well with sandpaper grit 40, the second layer of Microcement Base correcting any irregularities, until the surface is completely smooth.
- Remove sanding dust with a vacuum cleaner. A damp cloth can also be used to clean the surface.
- Place the protective tape.

4. Fine Microcement CimentArt
- Mix 750 grams of Fine Microcement with half a liter of Mixture Resin CimentArt.
- The coverage of this Microcement is of approximately 250 grams / m2 applying the product with a layer of 0,1 mm. it’s necessary to apply 2 layer and between 400 to 500 grams are necessary for a surface of 1m2.
- Mix well with the electric mixer until a smooth mixture is achieve. Let rest for 5 to 10 min on winter (while on summer it is not necessary)
- Do not mix a big ammount of this product, as it hardens fast tan the Microcement Base.

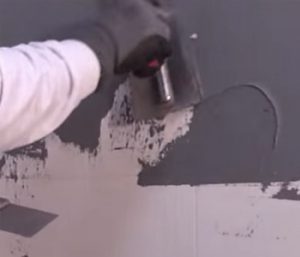
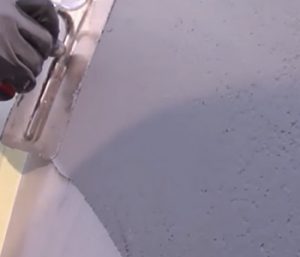
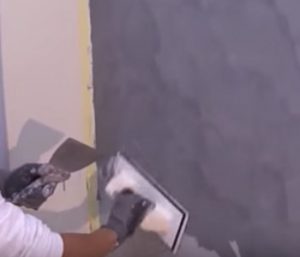
Application of the first layer of Fine Microcement::
- Use our special trowel for Fine Microcement and make the application with short and circular movements, using an angle of 45° giving a thickness of 0,1 mm maximum (the thickness is given by the grain of the mixture and by the pressure used during the application).
- Complete the first application making it as homogeneous and without irregularities as possible.
- Remove the protective tape. Allow the layer of Fine Microcement to dry.
- The drying time depends on the humidity, temperature, ventilation, etc.
- Sand the first layer of Fine Microcement with sandpaper grit 150-200 correcting any irregularities.
- Remove the sanding dust with a vacuum cleaner.
- Tip: before applying the second layer on high temperature environments, slightly spray the surface with water; this will result in a better application of the product.
Place the protective tape where necessary.
Complete the second application making it as homogeneous and without irregularities as possible.
- With the trowel for Fine Microcement and make the application with short and circular movements, using an angle of 45° giving a thickness of 0,1 mm maximum (the thickness is given by the grain of the mixture and by the pressure used during the application).
- Complete the second application making it as homogeneous and without irregularities as possible.
- Remove the protective tape and allow the second layer of Fine Microcement to dry.
- The drying time depends on the humidity, temperature, ventilation, etc.
- Tip: For the joints not to be visible, the last layer of Fine Microcement CimentArt is applied in a continuous fashion until the completion.
- Sand the second layer of Fine Microcement with sandpaper grit 150 to 200 correcting any irregularities.
- Remove the sanding dust with a vacuum cleaner. Never use a damp cloth on this phase.
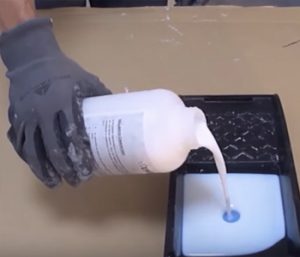
5. Sealer CimentArt
- Place the protective tape where necessary.
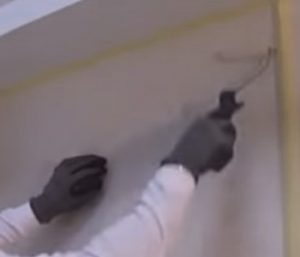
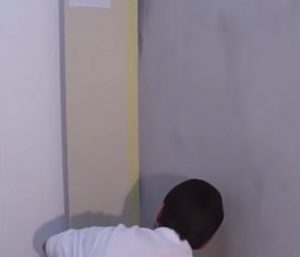
Pour into the painting pan the CimentArt Sealer and apply a uniform layer, with a short-haired or microfiber roller and allow to dry completely.
- The drying time depends on the humidity, temperature, ventilation, etc. it often dries really fast.
The coverage CimentArt sealer is of 100 gr /m2. To make a surface of 10 m2, 1 kg would be necessary.

Clean the roller and the painting pan.
- Allow the Sealer to dry. The drying time depends on the humidity, temperature, ventilation, etc. Often dries fast.
6. Bi-Componente polyurethane varnish CimentArt
Bi-Componente water base
Recommended for: Indoors and outdoors applications, in every wall, ceiling, floor of moderate traffic.
Preparation:
- Mix 5 parts of the Cimentart Base Aqua Varnish Polyurethane component A with 1 part of the component B.
- To make 1 kg of varnish with the two components 840 gr of component A and 160 gr of component B are need it.
- The approximate coverage is of 50 gr/ 1m2, applying a thin layer of 0,1mm. Is always necessary to apply two layers. To complete a surface of 10 m2 with two layers approximately 1 kg of the mixture is necessary.
Varnish HARD Polyurethane bi-component CimentArt Solvent base
Recommended for: indoors and outdoors applications on floors of intense traffic.
Preparation:
- Mix 2 parts of the Component A of the Polyurethane Varnish HARD CimentArt Solvent Base with 1 part of component B.
- To make 1 kg of Vanish HARD with the two components 666 gr of component A and 333 gr of component B are necessary.
- The approximate coverage is of 100 gr/1m2, applying a thin layer of 0, 1 mm. it is always necessary to apply 2 layers. To complete a surface of 10 m2 with one layer 1kg of the mixture is necessary.
- Using a microfiber roller or a spray apply a first layer of varnish, 0,1mm of thickness (tipping off the surface when using the roller) and let dry at least 12 hrs.
- Using microfiber roller or a spray apply the second layer in the same fashion of the first one.
- A third layer can be apply for more protection, mainly on those areas exposed to water like showers or outdoor terraces.
- Do not forget to clean the roller and the painting pan with water or a solvent, depending of the varnish used.
Cautions
- Traditional Microcement can be use on any surface with the exception of those surfaces that have capillary humidity, pools, basements and factories with heavy machines traffic.
- Never use Microcement Base with layers over 1mm of thickness.
- Never use Fine Microcement with layers over 0.1 mm of thickness.
- If while mixing the Resin with the Microcement powder, the mixture is too liquid, let it rest for a few minutes until the desired consistency is achieved. This can occur on low temperatures on winter and /or with intense colors resin.
- Respect the proportions of Mixture Resin and Microcement powder. Otherwise, the final color can vary. This is especially important on the last two layers of Fine Microcement layers.
- Use the Varnish of Polyurethane CimentArt always with Fine layers of 0,1mm.
- Make sure all the Microcement surface is cover with the Polyurethane Varnish.
- The traditional Microcement CimentArt can be use without any problems on showers and areas constantly exposed to water. However, for this type of surfaces the use of gama AQUA, ready to use and 100% waterproof on all its layers is recommended.
For any technical guidance write to: contacto@grupocimentart.com